Our Process

At Aardvark Jewellery, we believe every piece of jewellery tells a story — and every story deserves craftsmanship without compromise. Here's how your dream ring goes from idea to heirloom...

Book Your Appointment TodayWedding Bands Hero Image
1

Initial Consultation

Every Great Ring Begins with a Conversation

We begin with a one-on-one consultation to explore your ideas and inspiration. Whether you have a full Pinterest board or just a feeling, we’ll help shape it into something real.

  • Design preferences (metal type, setting style, stone shape and size)
  • Budget
  • Timeline
  • Ring size
  • Inspiration images or sketches

We make sure we're aligned on your vision before moving forward.

A conversation about jewellery design
2

CAD Design

Precision Design with Photorealistic Renders

Using MatrixGold CAD software, our designers turn your ideas into a detailed 3D model. This model reflects exact dimensions, proportions, and angles - giving you full control over how your ring will look.

You'll receive realistic renderings to review, and we'll make any revisions needed until you're 100% happy.

CAD design of a custom ring
3

Wax Model Creation

Your Design in 3D Physical Form

Once your CAD is approved, we create a wax or resin model using high-resolution 3D printing. We use this exact prototype internally within Aardvark to physically check the design before casting. (This is not a step you see and the wax moulds cannot be reused after future steps, so they are not shipped as part of your order, but it is important to us that we check the design before moving forward with casting.)

3D printing a custom ring
4

Investment Casting (Lost Wax Casting)

Turning Your Model into a Mould

  • A wax sprue is attached to the model to guide molten metal.
  • The model is set in a flask and surrounded by a special investment material.
  • The flask is fired in a kiln, burning away the wax and leaving a perfect mould cavity.
Investment casting process
5

Metal Casting

Pouring Your Ring into Reality

With the mould ready, molten metal (gold, platinum or your choice) is poured or injected into the cavity using vacuum or centrifugal casting. Once cooled, the raw ring is revealed.

Pouring molten metal into a mould
6

Polishing & Cleaning

Polished to Perfection

The sprue is removed, and the ring is carefully polished through multiple stages using:

  • Hand tools
  • Polishing wheels
  • Ultrasonic baths
  • Steam cleaners

This stage ensures a smooth, flawless finish and brings out the metal's natural brilliance.

Cleaning and polishing a custom ring
7

Stone Setting

The Centrepiece is Placed by Hand

Our skilled stone setters secure your gemstone(s) using techniques like:

  • Prong setting
  • Bezel setting
  • Pave setting

We verify each stone for alignment, symmetry, and security under magnification.

Setting a diamond in a custom ring
8

Final Polishing & Quality Check

Only Perfection Leaves the Studio

After setting, the ring receives a final polish and undergoes a full inspection to ensure:

  • Stone security
  • Structural integrity
  • Finish quality
  • Design accuracy
Inspecting a custom ring
9

Presentation and Delivery

Your Story, Boxed and Ready

The finished ring is placed in a beautiful Aardvark Jewellery presentation box and delivered to you - ready for proposal, gifting, or personal celebration.

Packaging a custom ring
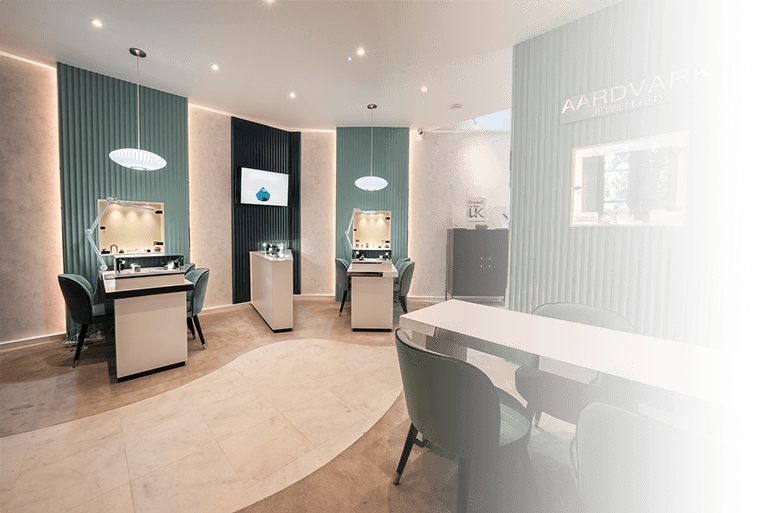
Aardvark Showroom

Where love and craftsmanship meet